Die Kanten meiner Tasche fangen an zu bröckeln, was tun?!
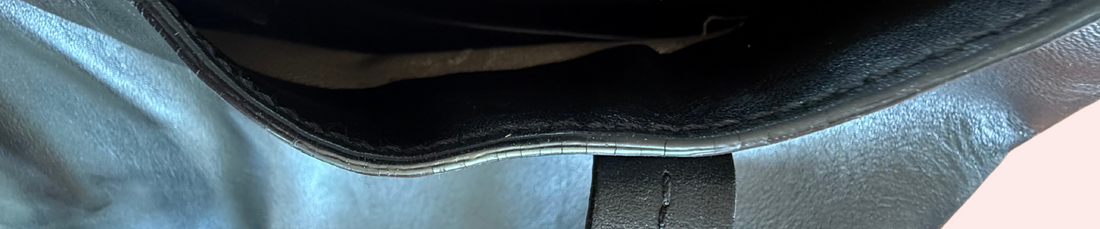
Vielleicht ist dir das schon mal bei gekauften Taschen, oder auch deinen selbstgefertigten Taschen an beispielsweise einem Ledergurt, der Oberkante deines Shoppers oder deiner Bucket Bag aufgefallen: Nach vielem Tragen und Nutzen hat die Kante kleine feine Risse bekommen.
Das ist nicht ungewöhnlich bei Lederaccessoires, aber natürlich gibt es trotzdem einige Tipps und Tricks, wie man versuchen kann, diese Makel zu verhindern oder zu beheben.
Das "brechen" der Kanten kann mehrere Gründe haben:
- Es wird minderwertige Kantenfarbe oder Base Coat verwendet.
- Die Kanten sind viel in Bewegung, werden also zusammengestaucht und dann wieder gedehnt.
- Die Kanten sind relativ dick, weil das Leder etwas dicker ist.
- Base Coat und Kantenfarbe wurden evtl. zu dick aufgetragen.
So viel wissen wir: An der Qualität von Base Coat und Kantenfarbe liegt es definitiv nicht, da wir hier bereits die hochwertigsten Produkte auf dem Markt verwenden. Voraussetzung hierfür ist, dass Base Coat und Kantenfarbe noch nutzbar sind. Zusätzlich zur Beachtung der Lagerungshinweise (vor Frost und Temperaturen über 25 Grad schützen) kannst du das einfach prüfen, indem du die Konsistenz der Flüssigkeiten betrachtest: Sie sollte nicht zähflüssig sein und auch keine Klumpen gebildet haben. Wenn das nicht der Fall ist, kannst du die Produkte noch verwenden.
Entsprechend bleibt als Grund für gebrochene Kanten oft die Kombination aus den restlichen Faktoren: Dickere Leder und entsprechend dickere Kanten mit einem großzügigen Auftrag an Flüssigkeit brechen insbesondere an Stellen mit viel Bewegung.
Was du es korrigieren kannst – unsere Top-Tipps:
- Schleife die betroffene Lederkante gut ab, um eine ebene Fläche zu bekommen - hier ist ein Akkuschleifer praktisch, da du viel Material "wegnehmen" musst. Achte beim Schleifen darauf, nicht zu sehr auf die Kante zu drücken, um die wahrscheinlich sowieso schon dicke Lederkante noch "breiter zu drücken". Schleife eher auch schräg von der Seite, wenn möglich.
- Klebe die Kanten gut zusammen, sodass die Kante selbst schon Stabilität hat und nicht mehr flexibel ist. Durch den Kleber wird die Kante außerdem steifer.
- Trage nur eine oder zwei dünne Schichten Base Coat auf. Schleife zwischen den Schichten wirklich großzügig, sodass die nächste Schicht Base Coat gut haftet, und auch nicht viel Material "aufbaut".
- Versuche auch bei der Kantenfarbe so wenig Schichten wie möglich zu nehmen und die Flüssigkeit jeweils so weit wie möglich auf der Kante zu verteilen, dass die einzelnen Schichten so dünn wie möglich werden. Auch hier solltest du zwischendurch gut schleifen.
- Wenn vorhanden, kannst du mit einem erhitzten Edge Creaser die Kante noch einmal "bügeln", sodass sich die einzelnen Schichten Kantenfarbe miteinander verschmelzen.
Wie du sicher bemerkt hast, wiederholen wir hier die Tipps, die wir bereits im Grundlagen-Guide als "Basiswissen" zur Vorgehensweise teilen. Denn long story short: Hier gibt es keine Abkürzung 🙃
Kantenbearbeitung ist Fleißarbeit und oft versucht man, mit dickeren Schichten beim Auftrag oder kürzeren Schleifschritten, schneller zum Ziel zu kommen. Sind wir ehrlich: #guiltyascharged #beentheredonethat 😜
Aber: Jetzt weißt du, wie es in der Theorie funktioniert, keine gebrochenen Kanten zu erzielen. Happy Crafting! 💗